
Anúncios
Learning to sew opens up a world of creativity, self-expression, and practical skills that can last a lifetime. Whether you want to mend clothes, create custom pieces, or start a new hobby, sewing is accessible to everyone.


The beauty of sewing lies in its simplicity and versatility. With just a few essential tools and techniques, you can transform fabric into beautiful, functional items. Many people feel intimidated by sewing machines or complex patterns, but the truth is that anyone can learn the basics in a surprisingly short time.
Anúncios
This comprehensive guide will walk you through the fundamental steps of sewing, from choosing your first materials to completing your initial projects. By breaking down each element into manageable parts, you’ll gain confidence and skills that build upon each other naturally. Let’s dive into the wonderful world of stitching! ✂️
Understanding Your Basic Sewing Tools 🧵
Anúncios
Before you start any sewing project, you need to familiarize yourself with the essential tools. Having the right equipment makes the learning process smoother and more enjoyable. You don’t need to invest in expensive professional gear right away—start with the basics and expand your collection as your skills grow.
The most fundamental tool is, of course, the needle. Hand sewing needles come in various sizes, but medium-sized universal needles work well for beginners. If you’re using a sewing machine, it will come with needles, but knowing when to change them is crucial for quality stitching.
Thread is your next essential item. Cotton thread is versatile and works for most beginner projects. Choose a neutral color like white, black, or gray to start, as these match most fabrics. As you progress, you’ll want to match thread colors to your fabric for a professional finish.
Scissors designed specifically for fabric are non-negotiable. Regular household scissors will dull quickly and create jagged edges. Invest in a good pair of fabric shears and reserve them exclusively for cutting fabric—never paper or other materials.
Pins and a pincushion keep your fabric pieces together while you work. Straight pins with colorful heads are easier to see and handle. A seam ripper is another invaluable tool for correcting mistakes without damaging your fabric.
Choosing the Right Fabric for Beginners 🎨
Fabric selection can make or break your first sewing experiences. Some materials are forgiving and easy to work with, while others challenge even experienced sewers. Starting with the right fabric sets you up for success and helps you build confidence.
Cotton is the gold standard for beginner sewers. It’s stable, doesn’t stretch unexpectedly, and comes in countless colors and patterns. Quilting cotton is particularly good because it’s medium-weight and holds its shape well. You can find it at any fabric store at reasonable prices.
Avoid slippery fabrics like satin or silk when you’re just starting out. These materials shift and slide as you sew, making it difficult to maintain straight seams. Similarly, stretchy fabrics like jersey or spandex require special techniques and equipment that beginners haven’t mastered yet.
Linen is another beginner-friendly option, though it wrinkles easily. It has a beautiful texture and is perfect for home décor projects like pillowcases or table runners. Muslin is inexpensive and ideal for practice projects where you’re testing patterns or techniques.
When shopping for fabric, feel it with your hands. Does it seem sturdy? Can you see the weave clearly? These are signs of quality and workability. Start with small quantities—half a yard to a yard is plenty for learning basic techniques.
Mastering Essential Hand Stitches 🪡
Before jumping to a sewing machine, learning basic hand stitches gives you control and understanding of how stitches work. These fundamental techniques are useful throughout your sewing journey, even when you primarily use a machine.
The running stitch is the simplest and most basic. Thread your needle, knot the end, and push the needle up through the fabric from the back. Make small, even stitches by weaving the needle in and out of the fabric. This stitch is perfect for basting (temporary stitching) or simple seams.
The backstitch creates stronger seams and is ideal for hand-sewing garments. After making your first stitch forward, bring the needle back to the end of the previous stitch, then push it forward again. This creates a continuous line of stitches with no gaps, similar to machine stitching.
The whipstitch joins two pieces of fabric along their edges. It’s commonly used for hemming or closing openings in pillows and stuffed animals. Simply bring the needle over the edge of the fabric repeatedly, creating diagonal stitches that wrap around the edge.
Practice these stitches on scrap fabric until they feel natural. Aim for consistency in stitch length and tension. Your stitches don’t need to be perfect—even experienced sewers have slight variations—but developing muscle memory now will benefit you later.

Getting Started with Your Sewing Machine 🔧
Sewing machines might look intimidating with all their buttons and settings, but they’re actually designed to make sewing easier and faster. Understanding the basic components and functions will demystify this helpful tool.
Start by reading your machine’s manual thoroughly. Every machine is slightly different, and the manual explains your specific model’s features. Locate the bobbin area, thread path, tension settings, and stitch selector. Familiarize yourself with where each part is located before threading the machine.
Threading your machine correctly is crucial. Most machines have numbered guides or diagrams showing the thread path from the spool to the needle. Follow this path carefully, ensuring the thread sits properly in each guide and tension disc. Incorrect threading causes most beginner sewing machine problems.
The bobbin holds the lower thread that interlocks with the upper thread to create stitches. Wind your bobbin according to your machine’s instructions, then insert it into the bobbin case. Some machines have drop-in bobbins, while others require you to insert a bobbin case—check your manual for specifics.
Before sewing on your project, test your stitches on scrap fabric. Check that the tension is balanced—the stitches should look identical on both sides of the fabric. If you see loops or the thread looks too tight, adjust the tension dial slightly and test again.
Understanding Seam Allowances and Straight Stitching 📏
Seam allowance refers to the space between your stitching line and the edge of the fabric. Standard seam allowances are typically 1/2 inch or 5/8 inch, though this varies by project. Consistent seam allowances ensure that pieces fit together properly when assembled.
Most sewing machines have markings on the throat plate showing common seam allowance measurements. Align your fabric edge with the appropriate marking to maintain consistency. Some sewers place masking tape on the machine as a visual guide for their specific seam allowance.
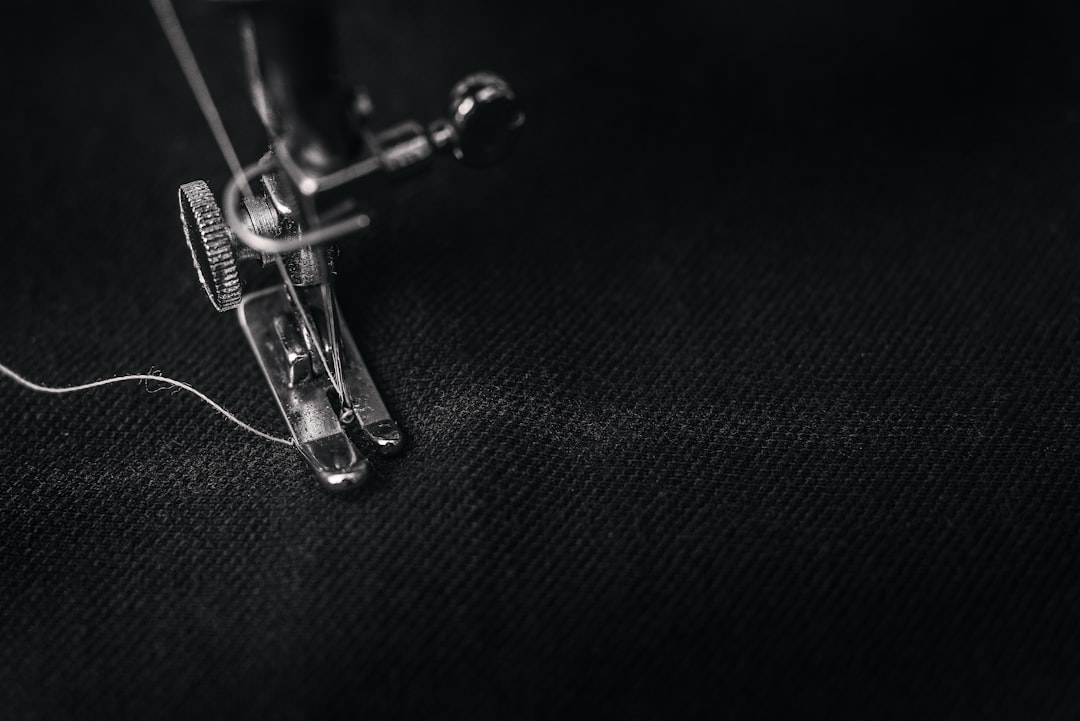
Straight stitching is the foundation of most sewing projects. Set your machine to a straight stitch (usually the default setting) with a stitch length of about 2.5. Place your fabric under the presser foot, lower the foot, and begin sewing slowly, guiding the fabric gently without pulling or pushing.
Backstitching at the beginning and end of seams prevents them from unraveling. Sew a few stitches forward, press the reverse button to sew backward over those stitches, then continue forward. Repeat this process at the end of your seam. This simple technique adds durability to all your projects.
Creating Your First Simple Project: A Drawstring Bag 👜
Putting your new skills into practice with a real project solidifies your learning. A drawstring bag is perfect for beginners because it uses basic techniques and creates something genuinely useful. You’ll practice cutting, straight stitching, and finishing edges.
Cut two rectangles of fabric measuring 10 by 12 inches. These will form the front and back of your bag. If you want to add a personal touch, choose a fun printed cotton fabric. Place the rectangles with right sides (the pretty sides) facing each other.
Pin the sides and bottom together, leaving the top open. Sew along the sides and bottom with a 1/2-inch seam allowance, remembering to backstitch at the beginning and end. Leave a 1-inch gap unsewn on each side, about 2 inches from the top—this is where your drawstring will emerge.
For the drawstring casing, fold the top edge down 1/4 inch and press with an iron. Fold down another 1 inch and press again. Sew close to the bottom folded edge, creating a tunnel. Thread a ribbon or cord through this tunnel using a safety pin attached to one end.
Turn your bag right side out through the top opening, and you’re done! This simple project teaches you multiple skills: cutting accurately, sewing straight seams, creating casings, and finishing projects. Plus, you have a useful bag for storing small items. 🎉
Troubleshooting Common Beginner Mistakes 🔍
Every sewer encounters challenges, especially when learning. Understanding common problems and their solutions helps you overcome frustration and continue improving. Most issues have simple fixes once you know what to look for.
Thread bunching underneath the fabric usually indicates threading problems. Remove all thread from your machine and re-thread carefully, ensuring the presser foot is up while threading (this opens the tension discs). Also check that your bobbin is inserted correctly and wound evenly.
Skipped stitches often result from a dull, bent, or incorrectly inserted needle. Replace your needle regularly—they’re inexpensive and make a huge difference. Ensure the flat side of the needle faces the back of the machine (or check your manual for your specific model).
Puckered fabric occurs when tension is too tight or you’re pulling the fabric while sewing. Let the machine’s feed dogs pull the fabric through at their own pace. Adjust the upper tension slightly looser if puckering persists, and always test on scrap fabric.
Uneven stitches might mean you’re sewing too fast for your skill level. Slow down and focus on maintaining a steady pace. Many machines have speed settings—use the slowest setting while learning. Consistency comes with practice, so be patient with yourself.
Building Your Skills with Practice Projects 📚
After mastering the basics, gradual progression through increasingly complex projects builds your confidence and skill set. Don’t rush into advanced garments—enjoy the learning process with projects that teach specific techniques.
Pillowcases are excellent second projects. They’re slightly larger than drawstring bags but use similar straight-stitch techniques. You’ll practice measuring, cutting larger pieces, and creating clean finished edges. Everyone needs pillowcases, making them practical as well as educational.
Simple tote bags introduce you to sewing straps and reinforcing stress points. You’ll learn to sew through multiple layers and create durable seams that withstand regular use. Customize your tote with pockets to practice more advanced construction techniques.
Napkins or placemats teach you about hemming and creating crisp corners. Mitered corners look professional and aren’t as difficult as they appear. These projects also help you practice working with square or rectangular shapes and achieving precise measurements.
As you complete each project, reflect on what you learned and what challenged you. Keep a sewing journal documenting projects, techniques learned, and solutions to problems you encountered. This reference becomes invaluable as you tackle more complex projects.
Exploring Beyond Basic Techniques 🌟
Once you’re comfortable with straight stitching and simple projects, the sewing world opens up with endless possibilities. Intermediate techniques add variety and allow you to create more sophisticated items.
Zippers intimidate many beginners, but they’re simply a different type of seam. Start with a basic pouch with a centered zipper. Use a zipper foot attachment on your machine, which allows you to sew close to the zipper teeth. Practice on scrap fabric first to understand how the zipper foot works.
Buttonholes and buttons add functionality and polish to garments. Many modern machines have automatic buttonhole settings that do most of the work. Practice making buttonholes on scrap fabric until you understand your machine’s specific process. Hand-sewing buttons is a valuable skill for repairs and finishing touches.
Gathering fabric creates ruffles and adds dimension to projects. Increase your stitch length to the longest setting and loosen your upper tension slightly. Sew two parallel rows of stitching, then gently pull the bobbin threads to create gathers. This technique transforms flat fabric into decorative elements.
Curved seams appear in many projects, from aprons to clothing. The key is sewing slowly and pivoting frequently to maintain smooth curves. Clipping or notching the seam allowance after sewing allows curves to lie flat when turned right side out.
Joining the Sewing Community 👥
Sewing doesn’t have to be a solitary activity. Connecting with other sewers provides support, inspiration, and opportunities to learn from others’ experiences. The sewing community is generally welcoming and eager to help beginners.
Online communities offer instant connection with sewers worldwide. Social media platforms have countless sewing groups where members share projects, ask questions, and offer encouragement. Video tutorials provide visual learning that complements written instructions.
Local fabric stores often host classes or sewing circles. These in-person gatherings let you see techniques demonstrated, ask questions in real-time, and make friends who share your interest. Many libraries also offer free or low-cost sewing classes for community members.
Consider starting a sewing group with friends who are also learning. You can share supplies, troubleshoot problems together, and motivate each other to keep practicing. Teaching someone else what you’ve learned reinforces your own understanding.
Don’t hesitate to ask questions or seek help when you’re stuck. Every experienced sewer was once a beginner, and most are happy to share their knowledge. The sewing community thrives on this tradition of passing skills from one generation to the next.

Maintaining Your Momentum and Passion ✨
Learning to sew is a journey, not a destination. Some days you’ll feel frustrated, and other days you’ll amaze yourself with what you can create. Maintaining your enthusiasm through the learning curve ensures you’ll stick with this rewarding skill.
Set realistic goals for yourself. Rather than attempting a complicated dress immediately, break your learning into achievable milestones. Complete five simple projects before moving to intermediate ones. Celebrate each accomplishment, no matter how small it seems.
Create a dedicated sewing space if possible. Having your machine set up and ready to use lowers the barrier to practice. Even a small corner with organized supplies makes sewing more accessible and enjoyable. Keep your most-used tools within easy reach.
When you make mistakes—and you will—view them as learning opportunities rather than failures. Seam rippers exist because everyone makes errors that need correcting. Unpicking seams and redoing them is part of the process, not a reflection of your abilities.
Mix challenging projects with easy ones to maintain balance. If you’ve just completed something difficult, sew something simple and enjoyable next. This prevents burnout and keeps sewing fun rather than frustrating. Remember why you wanted to learn in the first place.
The skills you’re developing extend beyond sewing itself. You’re learning patience, precision, problem-solving, and creativity. These qualities enrich other areas of your life as well. Every stitch you make is progress, building toward the skilled sewer you’re becoming. Keep practicing, stay curious, and most importantly, enjoy the creative journey! 🧵✂️
